By performing a Wi-Fi interference test you can detect anything getting in the way of a stable Wi-Fi connection and stop any possible interference. Whether you’re a business owner, startup or consumer relying on an internet connection, wireless interference tests make all the difference. Read on to find out how you can conduct one yourself. Read next: How to speed up Wi-Fi.
Use a heatmap and reposition the router
The positioning of the router has a big impact on the performance of your Wi-Fi, affecting speed or glitches when using the internet. To find out where your Wi-Fi connection is being interrupted the most you should use a heatmapping tool. A heatmap will show you ‘dead zones’, which are areas with little or no connection meaning you can make adjustments to your network to improve connectivity. We like NetSpot, as it can measure the impact of distance from the router and the interference of building structures. However, before you start mapping out your network you should find the best location for your router. One of the best positions for the router is close to the master phone socket. Interference can also occur from walls and floors. If your router is mounted on a brick wall or on a metal shelf there can be some interference. We advise that you consider moving the router onto wood or glass shelves.
Download a Wi-Fi analysing app
There are lots of tools available for help to determine if and where your Wi-Fi is being interrupted of suffering from major interference. For Android users are countless Wi-Fi analysing tools able to provide extremely useful information on your network. For example, a good analyser will alert you to the best location for your router and recommend the best channel. Some will also show you the local area and highlight whether the interference is from within your home, or just down to the area you live in. Sadly, the latter is much more difficult to address.
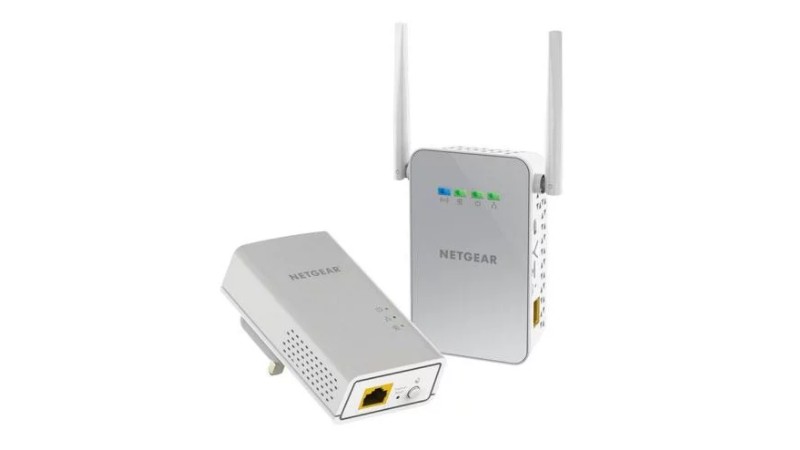
Purchase a powerline adapter
Connecting a powerline adapter to a Wi-Fi access point or extender will not only increase the range of your wireless connection but also highlight any areas still without connectivity. Once you’ve set up the adaptor and connected some of your devices to it, you might see a drop in interference on the original Wi-Fi network. This could mean that the initial interference you felt was due to too many connected devices. Alternatively, you could also opt for a powerline adapter that uses the existing electrical wiring for Ethernet connections. This makes it easy to extend the network through the walls and also cuts the cost of buying expensive new wires.
Change Wi-Fi channel
Another way to check if the interference is caused by too many devices or network traffic is to change your Wi-Fi channel to one that isn’t in use. This will help speed up your Wi-Fi as your current channel might be clogged by neighbours or office users nearby which is bound to cause interference between networks. Depending on the router, a lot of the more recent makes have a feature which automatically shows the least crowded channels.
Reconfigure your router
If nothing is working, you might want to reconfigure your router to check that this isn’t the cause of your ‘interference’. Adjusting the settings will improve Wi-Fi speed and reliability. It’s quite simple to perform generally, and can be done directly from the router configuration dashboard on a computer browser; the router manual should provide instructions and a password.