In this guide, we will show you how to quickly set up a new Apple AirTag with your iPhone.
Quickly Set Up New Apple AirTags
If you have a supported iPhone model, you can easily set up your new AirTag with iPhone in the blink of an eye. If your iPhone runs on iOS 14.5 or newer, AirTag can pair and work with your device. Before setting up, go through the below checklist and make sure your iPhone is ready.
iOS 14.5: Settings > General > Software UpdateEnable Find My: Settings > Your Name > Find My > Find My iPhone > OnTurn on Bluetooth
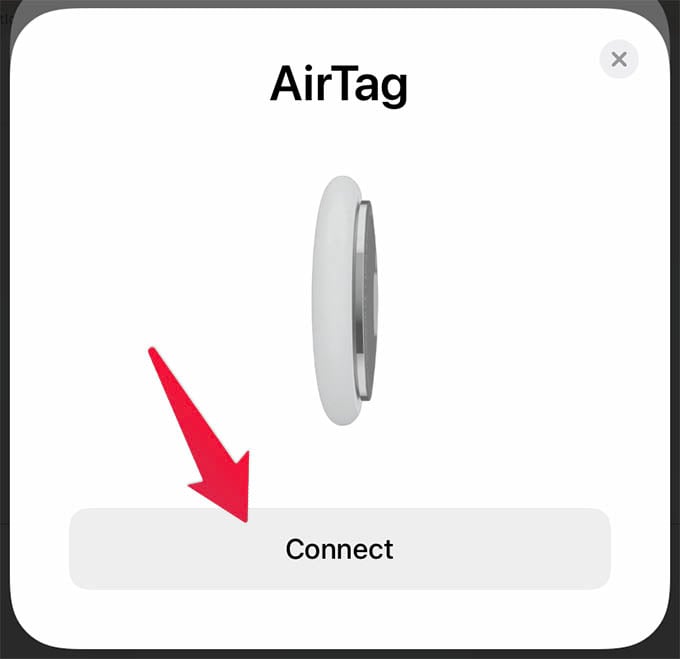
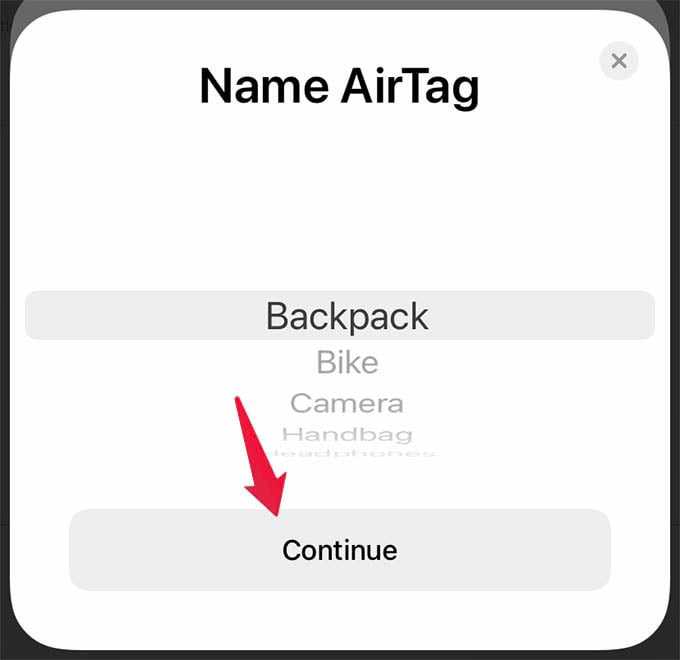
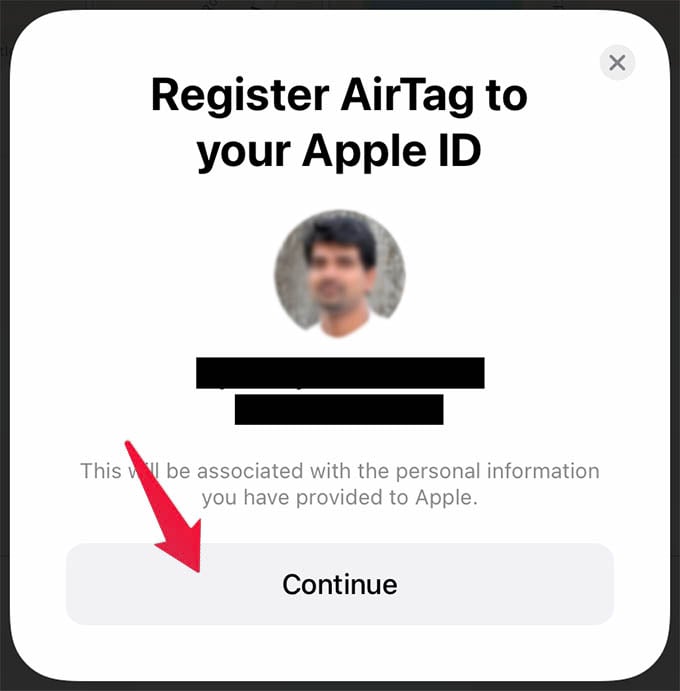
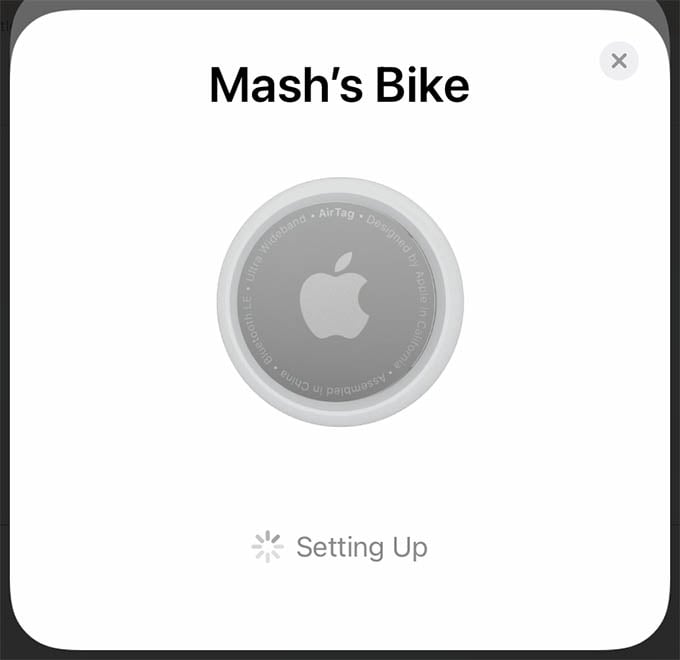
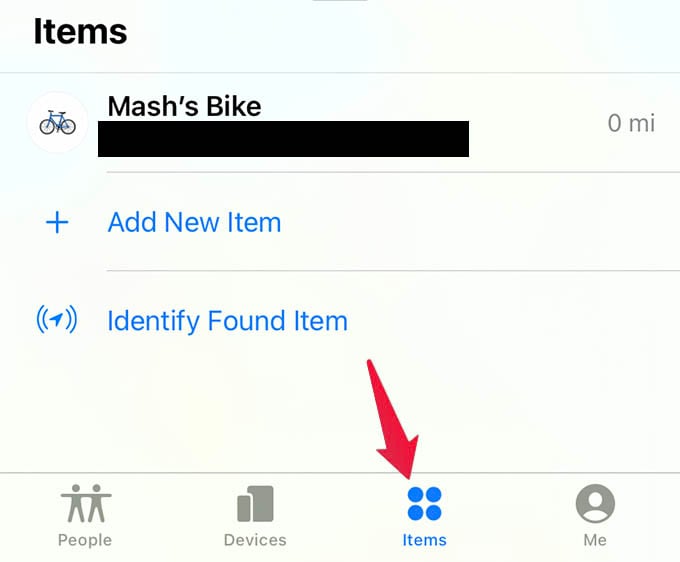
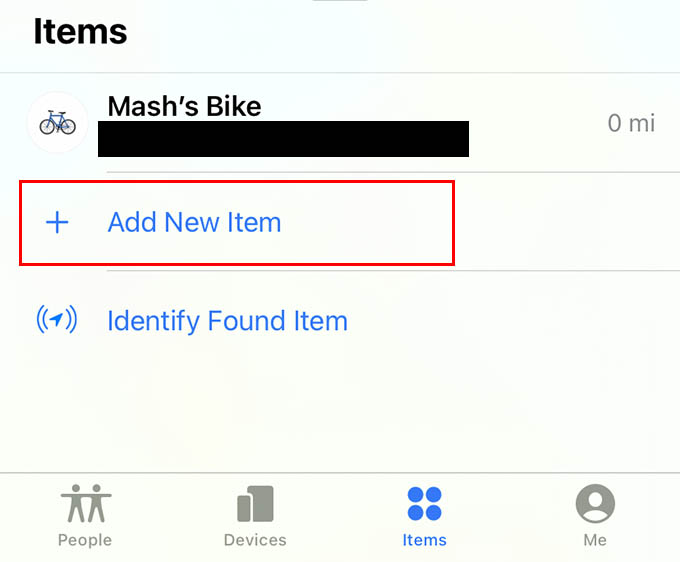
After enabling whatever is needed, you can now go through the below steps to set up a new AirTag with iPhone. Step 1: Peel off the plastic wrap around your AirTag. Pull the plastic tab to activate your AirTag. Step 2: Unlock your iPhone and hold the activated AirTag near to it. Step 3: A popup will appear with AirTag icon on your iPhone. Tap Connect button on the popup. Step 4: Now, select a name for your AirTag from the menu and tap Continue. If you want to give your AirTag a custom name, do check out our guide. Step 4: Tap Continue on the next screen after verying your Apple ID and phone number. Step 5: Wait for a moment to let your iPhone pair with the AirTag. Once you do it, you can see more details about your AirTag from the Find My app on your iPhone. Go to the Items tab in Find My app to see your AirTag location and details. It lets you find your AirTag if it goes missing. To add a second AirTag to your iPhone, go to the Items tab on your iPhone and tap the “Add New Item” link. Choose AirTag from the popup screen and start pairing as you did with the first AirTag. Of course there are tons of questions in your mind while setting up a new AirTag with your iPhone. If you still have some, here are some of them answered. Apple AirTag, like any other Apple device, is quick as a flash to set up and use. However, you may leave out some things while setting up a new AirTag with your iPhone and this guide should have helped you set up a new AirTag with iPhone.
Δ


